 STEP 1: Party plates make this craft slightly less messy and give a rainbow look to the colours. We fill each section with a mixture of food colouring and water. The more colouring you add the darker it is. STEP 2:Boys choose the colours from the box and choose weather to add one colour or a mix of colours to each one. STEP3: Next its time to get either kitchen roll or (heavy/expensive) toilet roll (the thin toilet paper just turns to mush). The boys then fold or roll the paper as they choose.
 OTHER OPTION: use a paint brush to dab the colour on. It still spreads out and can give more control
 STEP 4:Dip corners/edges into the different coloured dye. Don't hold it in too long just in and out. They are always amazed as the colour seeps up the through the paper.
 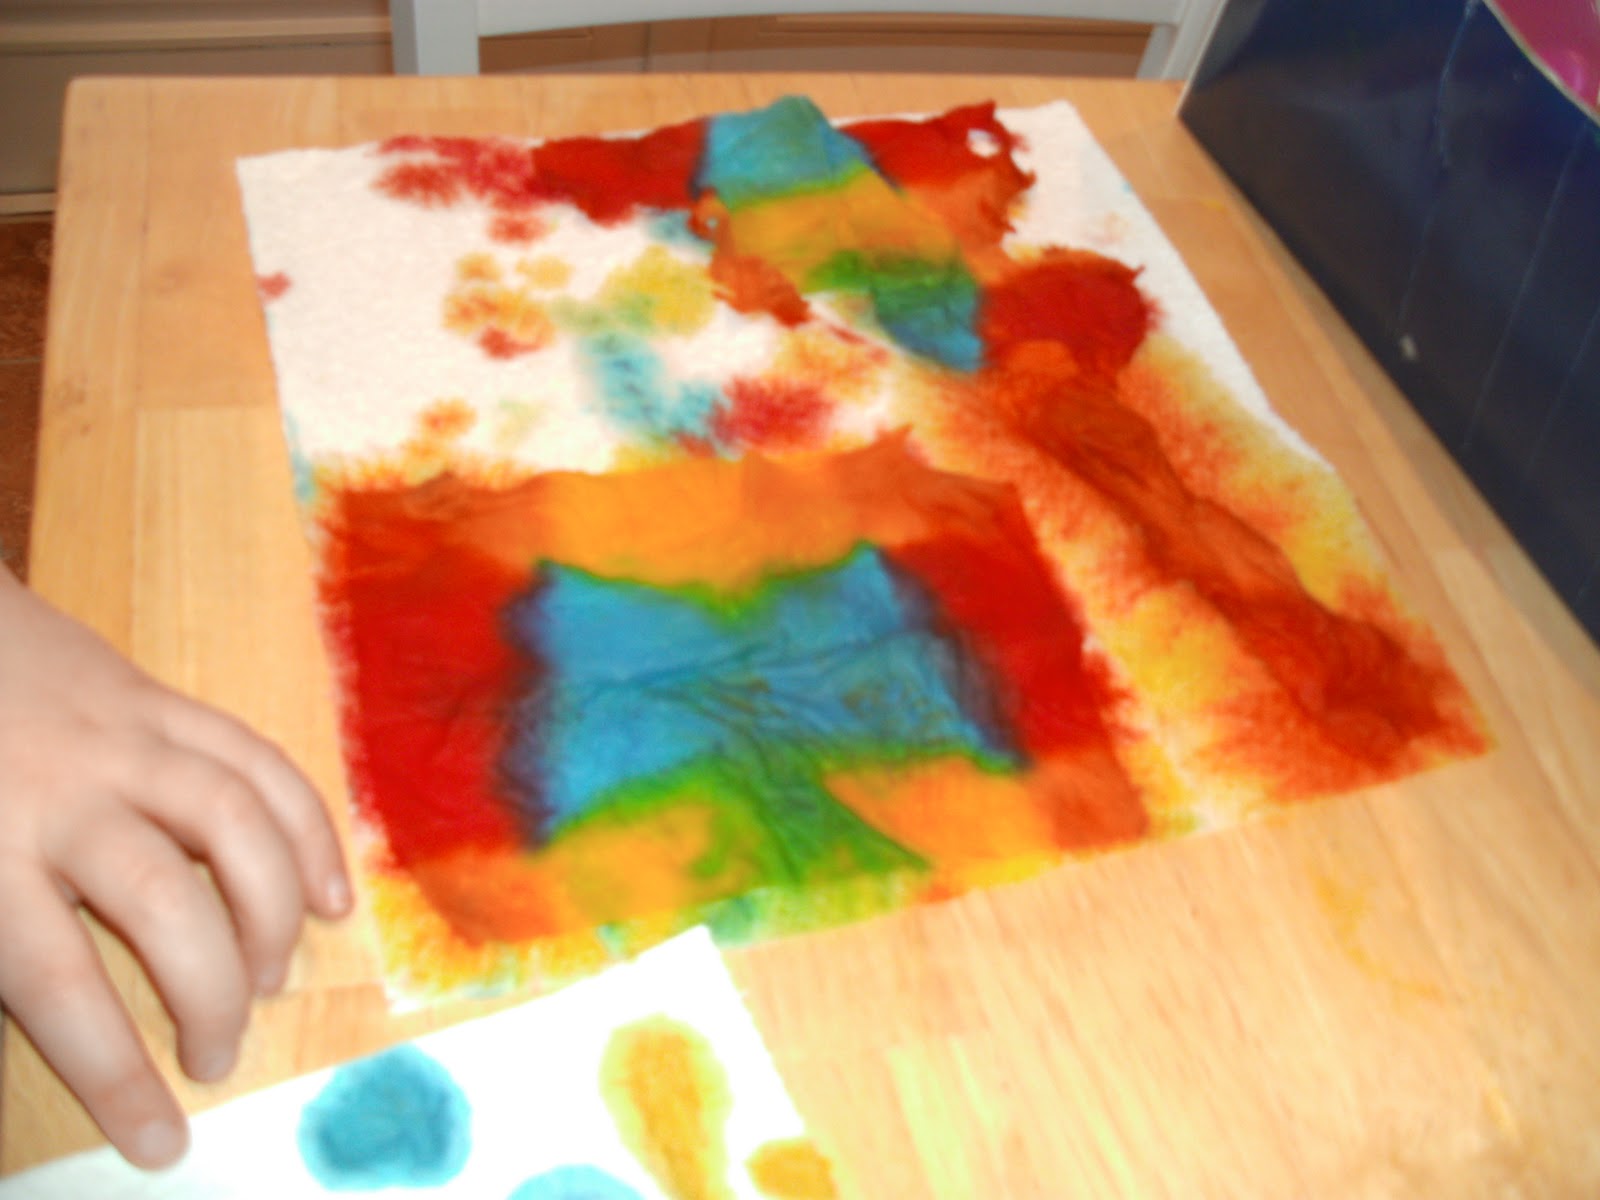 STEP 5: As each piece of paper is dyed its mum or dads turn to very carefully open up the paper. Once open place on a piece of kitchen towel to dry. This works better than newspaper as it soaks the excess colour away and nothing gets smudged. Also you get extra pieces of paper as the bottom piece usually soaks up enough colour to look good on its own.
  STEP6: Once dry its suitable for all sorts of projects. We tore up the dyed paper and rolled into balls , stuck onto a printed dinosaur shape and displayed.
Valentines idea: To link this to valentines day, you could cut into heart shapes. It gives such a pretty effect that could be used for cards etc.
Creative!
ReplyDelete